Sep . 05, 2024 10:32 Back to list
remove brake drum from hub
Removing the Brake Drum from the Hub A Step-by-Step Guide
Removing the brake drum from the wheel hub can seem like a daunting task, but with the right tools and a bit of know-how, it can be accomplished relatively easily. Whether you're doing maintenance on your vehicle or replacing worn-out parts, this guide will walk you through the process to ensure you do it safely and effectively.
Tools and Materials Needed 1. Jack and Jack Stands For safely lifting the vehicle. 2. Lug Wrench To remove the wheel. 3. Brake Drum Puller This tool is essential for removing drums that may be stuck due to corrosion or wear. 4. Socket Set To remove any bolts securing the drum. 5. Safety Goggles and Gloves Always prioritize safety.
Step 1 Prepare the Vehicle Begin by parking the vehicle on a flat surface and engaging the parking brake. Use the lug wrench to loosen the lug nuts on the wheel where you need to remove the brake drum, but do not completely remove them yet.
Step 2 Lift the Vehicle Using a jack, lift the vehicle off the ground carefully. Once elevated, place jack stands beneath the vehicle for added safety. Ensure that it is secure before proceeding.
Step 3 Remove the Wheel Complete the removal of the lug nuts and take off the wheel. With the wheel removed, you’ll have clear access to the brake drum.
remove brake drum from hub

Step 4 Inspect the Brake Components Before removing the drum, take a moment to inspect the brake components for wear or damage
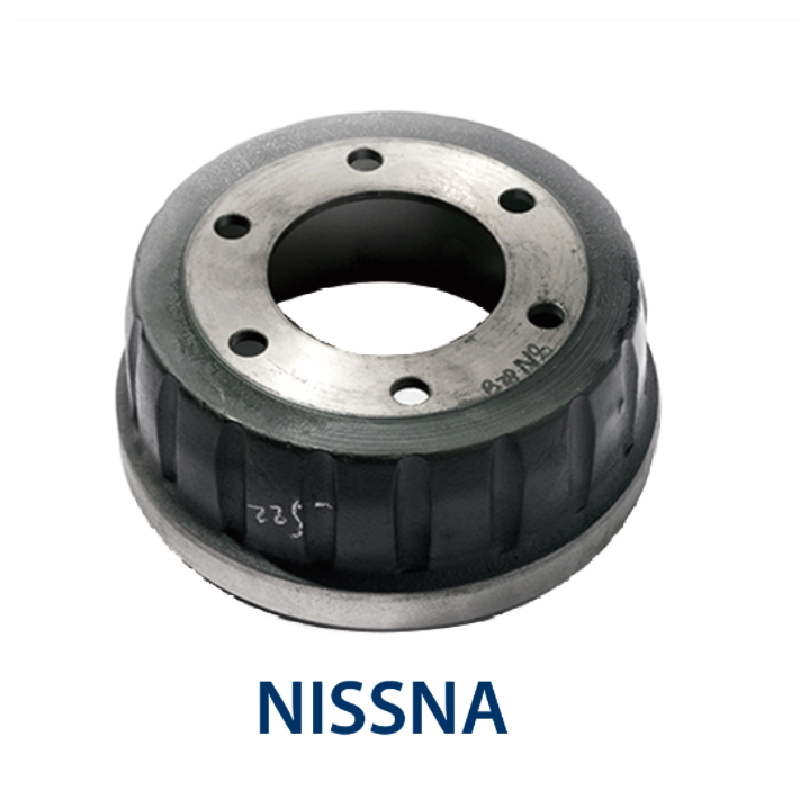
. Look for signs of rust or debris which may indicate the need for cleaning or further maintenance.Step 5 Remove the Brake Drum If the brake drum is stuck, use a brake drum puller for leverage. Attach the puller to the drum and tighten it gradually. This will help pop the drum off the hub without damaging the surrounding components. If it doesn't budge, gently tap around the edges with a rubber mallet to break any corrosion bonds.
Step 6 Clean and Replace as Necessary Once the drum is removed, clean any debris or dust from the area. Check the brake shoes and other components for wear. If they are worn down, now is the perfect time to replace them.
Step 7 Reassemble After all necessary replacements or repairs, reattach the drum and wheel in the reverse order of removal. Ensure all bolts are tightened to the manufacturer's specifications.
Conclusion Removing the brake drum from the hub is a straightforward process when done correctly. Always prioritize safety and ensure that you give yourself ample time to complete the job. Regular brake maintenance can help prolong the life of your vehicle and ensure safe driving conditions.
-
Brake Drum Man - High-Quality Drum Brake Drums & Brake Shoes for Reliable Performance
NewsJun.24,2025
-
High-Quality Brake Drum Kamaz – Durable Drum Brake Drum & Brake Shoe Replacement
NewsJun.10,2025
-
High-Quality Brake Drum Liza for Drum Brake Systems - Superior Durability and Performance
NewsJun.10,2025
-
High-Quality Brake Drum Kamaz – Durable Drum Brake Drum & Brake Shoe Solutions
NewsJun.10,2025
-
Durable Kamaz Brake Drums High-Performance Truck Parts
NewsJun.09,2025
-
Premium Brake Drum Maz Kit with Shoes Enhanced Braking
NewsJun.09,2025
