Dec . 09, 2024 17:34 Back to list
Effective Methods for Releasing Stuck Frozen Brake Drums from Vehicles
How to Remove a Frozen Brake Drum
If you're working on your vehicle's brakes and have encountered a frozen brake drum, you’re not alone. Brake drums can become stuck due to rust, moisture, or corrosion, making it difficult to perform necessary maintenance or replacements. Here’s a step-by-step guide to help you safely and effectively remove a frozen brake drum.
Understanding Brake Drum Components
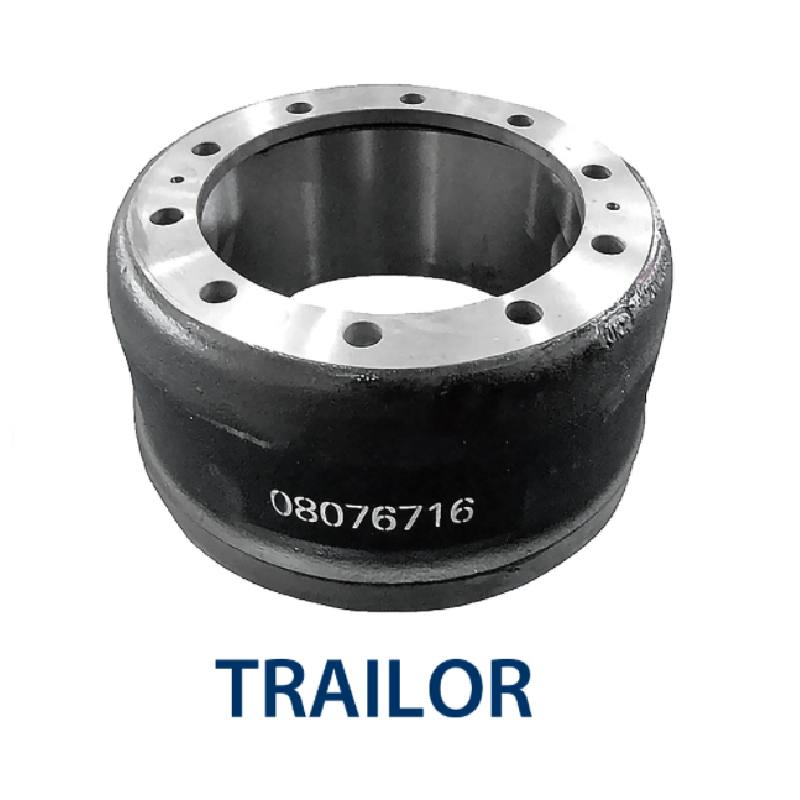
Before diving into the removal process, it's essential to understand the components involved. A brake drum is a cylindrical part of the brake system that houses the brake shoes and is crucial for the vehicle's stopping power. Over time, brake drums may seize due to rust accumulation or moisture trapped inside. This can lead to various problems, including uneven wear of brake components and decreased braking efficiency.
Preparation
1. Safety First
Always wear appropriate safety gear including gloves and safety glasses. Ensure your vehicle is parked on a flat surface and engage the parking brake to prevent any movement.
2. Gather Necessary Tools
You will need - A lug wrench - A jack and jack stands - A hammer or mallet - Brake cleaner - Penetrating oil - A brake drum puller (if necessary)
Step-by-Step Removal Process
Step 1 Loosen the Lug Nuts
Begin by loosening the lug nuts on the wheel covering the frozen brake drum. It’s typically easier to do this while the vehicle is still on the ground. Use a lug wrench to turn the nuts counterclockwise. Don’t remove them completely just yet.
Step 2 Lift the Vehicle
Using a jack, lift the vehicle from the ground. Secure it with jack stands to ensure safety while you work.
Step 3 Remove the Wheel
how to remove frozen brake drum

Now that the vehicle is safely elevated, remove the lug nuts entirely and take off the wheel, exposing the brake drum.
Step 4 Inspect the Brake Drum
Before attempting to remove the drum, inspect it for visible signs of damage or wear. A heavy buildup of rust or dirt can contribute to the freezing of the drum, making it essential to examine closely.
Step 5 Apply Penetrating Oil
If the brake drum is stuck, apply penetrating oil around the edges where the drum meets the backing plate. Let it sit for several minutes to allow the oil to soak into the rust and loosen the drum.
Step 6 Use a Hammer or Mallet
Gently tap around the drum's perimeter with a hammer or mallet. This can help to break the bond between the drum and the backing plate. Avoid using excessive force, as you don’t want to damage the brake drum.
Step 7 Attempt to Pull the Drum
Try pulling the drum off. If it doesn't budge, you might need a brake drum puller. This tool attaches to the drum and applies even pressure, making it easier to remove.
Step 8 Use a Brake Drum Puller if Necessary
If manual efforts don’t work, attach a brake drum puller to the drum according to the manufacturer's instructions. Turn the screw or handle to apply pressure, carefully applying force until the drum loosens and eventually comes off.
Step 9 Clean and Inspect
Once you have successfully removed the drum, clean any rust or debris on the backing plate and other brake components using brake cleaner. Inspect the brake shoes, wheel cylinder, and other parts for any signs of damage or wear.
Conclusion
Removing a frozen brake drum can be a challenging task, but with the right tools and techniques, it can be done efficiently and safely. Always prioritize your safety and the integrity of the brake components. If you find yourself struggling despite following these steps, it may be wise to seek professional assistance. Regular maintenance will help prevent issues with frozen brake drums in the future, ensuring your vehicle’s braking system remains in optimal condition.
-
Volvo Brake Drum: OEM Quality, Optimal Safety
NewsAug.27,2025
-
Durable Brake Drum MAZ for Heavy Duty Trucks | High Performance
NewsAug.26,2025
-
FUWA: Premium Quality, Reliable Performance & Innovative Solutions
NewsAug.25,2025
-
Liza Brake Drum: Superior Quality & Performance for Safe Driving
NewsAug.24,2025
-
Iveco Brake Drum | Premium OE Quality for Daily & Eurocargo
NewsAug.22,2025
-
Your Brake Drum Man: Quality & Performance Parts
NewsAug.21,2025
