ئاۋغۇست . 20, 2024 17:04 Back to list
Guide to Removing Brake Drums from Heavy Trucks Efficiently and Safely
Removing Heavy Truck Brake Drums A Comprehensive Guide
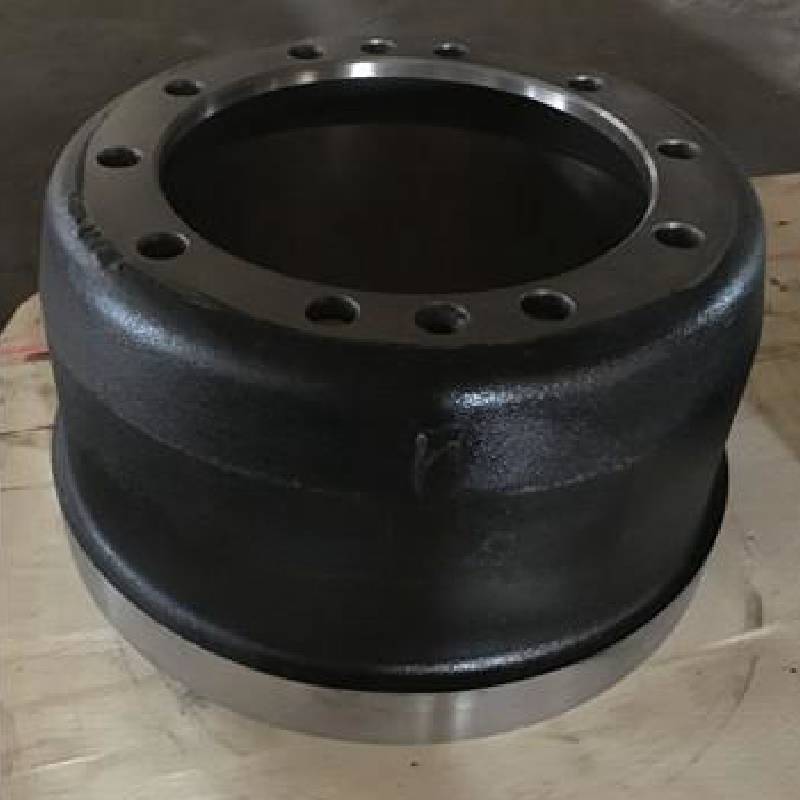
When it comes to maintaining heavy trucks, one crucial aspect is the brake system. The brake drum is a vital component in this system, responsible for providing the necessary friction to halt the vehicle. Over time, these drums can wear out or become damaged, necessitating their removal and replacement. This article provides a step-by-step guide on how to safely and effectively remove heavy truck brake drums.
Safety First
Before beginning any maintenance work on a heavy truck, safety should always be your top priority. Ensure that you are wearing appropriate personal protective equipment (PPE), including safety goggles, gloves, and steel-toed boots. Additionally, ensure that the truck is parked on a flat surface and secured with wheel chocks to prevent any accidental rolling.
Gather Your Tools
To remove a brake drum, you will need several essential tools
1. Wrenches and Sockets Typically, a set of sockets (usually metric) will be required to remove the bolts securing the brake drum. 2. Brake Drum Puller A specialized tool designed to extract the drum efficiently. 3. Hammer You may need this to loosen any stubborn components. 4. Pry Bar Useful for those tough-to-remove drums. 5. Torque Wrench For reassembling components to manufacturer specifications.
Step-by-Step Removal Process
1. Prepare the Truck Start by ensuring the truck is on a secure and level surface. Engage the parking brake and place wheel chocks around the wheels to prevent movement.
2. Remove the Wheel Using a lug wrench, detach the wheel that covers the brake drum. It's wise to loosen the lug nuts before lifting the truck with a jack. Once the truck is elevated, completely remove the lug nuts and take off the wheel.
heavy truck brake drum removal

3. Inspect the Brake Assembly With the wheel removed, inspect the brake assembly for signs of wear or damage. This is a good time to check the brake pads and other components.
4. Loosen the Drum Bolts Identify the bolts securing the brake drum. Use the appropriate socket to remove them, making sure to keep track of all hardware.
5. Use the Brake Drum Puller Attach the brake drum puller to the drum according to the manufacturer's instructions. This tool will apply even pressure, making it easier to remove the drum without causing damage.
6. Pry Off the Drum If the drum does not come off easily, gently tap it with a hammer or use a pry bar at the edges to loosen it. Be cautious to avoid damaging the surrounding components.
7. Remove the Drum Once adequately loosened, carefully pull the drum off the brake assembly. If it still resists, reassess to ensure that all bolts are removed and that nothing is obstructing it.
8. Inspect and Replace After removing the drum, inspect it thoroughly. If it’s worn beyond the manufacturer’s specifications or has cracks, it’s time for replacement.
9. Reassemble After completing any necessary maintenance or replacement of components, reattach the brake drum by reversing the removal process. Make sure to torque the bolts to the specified limit to ensure safety.
Conclusion
Removing a heavy truck's brake drum can be an intimidating task, but with the right tools and precautions, it becomes manageable. Regular maintenance of the braking system is critical for safe vehicle operation, and knowing how to perform tasks like drum removal plays a key role in that responsibility. Always refer to the truck manufacturer's guidelines for specific instructions tailored to your vehicle model, and when in doubt, consult a professional mechanic. Safe driving always begins with reliable brakes!
-
Brake Drum Man - High-Quality Drum Brake Drums & Brake Shoes for Reliable Performance
NewsJun.24,2025
-
High-Quality Brake Drum Kamaz – Durable Drum Brake Drum & Brake Shoe Replacement
NewsJun.10,2025
-
High-Quality Brake Drum Liza for Drum Brake Systems - Superior Durability and Performance
NewsJun.10,2025
-
High-Quality Brake Drum Kamaz – Durable Drum Brake Drum & Brake Shoe Solutions
NewsJun.10,2025
-
Durable Kamaz Brake Drums High-Performance Truck Parts
NewsJun.09,2025
-
Premium Brake Drum Maz Kit with Shoes Enhanced Braking
NewsJun.09,2025
