دېكابىر . 15, 2024 18:41 Back to list
Effective Methods for Cleaning and Restoring Rusty Brake Drums Safely and Easily
How to Remove Rusty Brake Drums
Rusty brake drums can be a significant issue for car owners, leading to poor braking performance and increased wear on brake components. If you’re dealing with rusty brake drums, you may be wondering how to properly remove them. In this article, we will provide you with a detailed guide on how to safely and effectively remove rusty brake drums from your vehicle.
Tools and Materials Needed
Before starting the removal process, make sure you have the following tools and materials on hand
- Jack and jack stands - Lug wrench - Brake drum puller (if necessary) - Wire brush or rust remover - Penetrating oil (such as WD-40) - Safety glasses and gloves - Torque wrench (for reinstallation) - Replacement parts (if needed)
Step 1 Prepare Your Vehicle
Start by parking your car on a flat, stable surface. Engage the parking brake and turn off the ignition. It’s advisable to wear safety glasses and gloves during this process to protect yourself from rust particles and sharp edges.
Step 2 Loosen the Lug Nuts
Using a lug wrench, loosen the lug nuts on the wheel that contains the rusty brake drum. Do not completely remove the lug nuts just yet; loosen them so you can easily remove them later when the wheel is off the ground.
Step 3 Lift the Vehicle
Use a jack to lift the vehicle. Once elevated, position jack stands under the vehicle to provide additional safety. You should never work under a car that is solely supported by a jack.
Step 4 Remove the Wheel
Now that the vehicle is safely lifted, completely remove the loosened lug nuts and take off the wheel
. This will give you access to the brake drum.Step 5 Inspect the Brake Drum
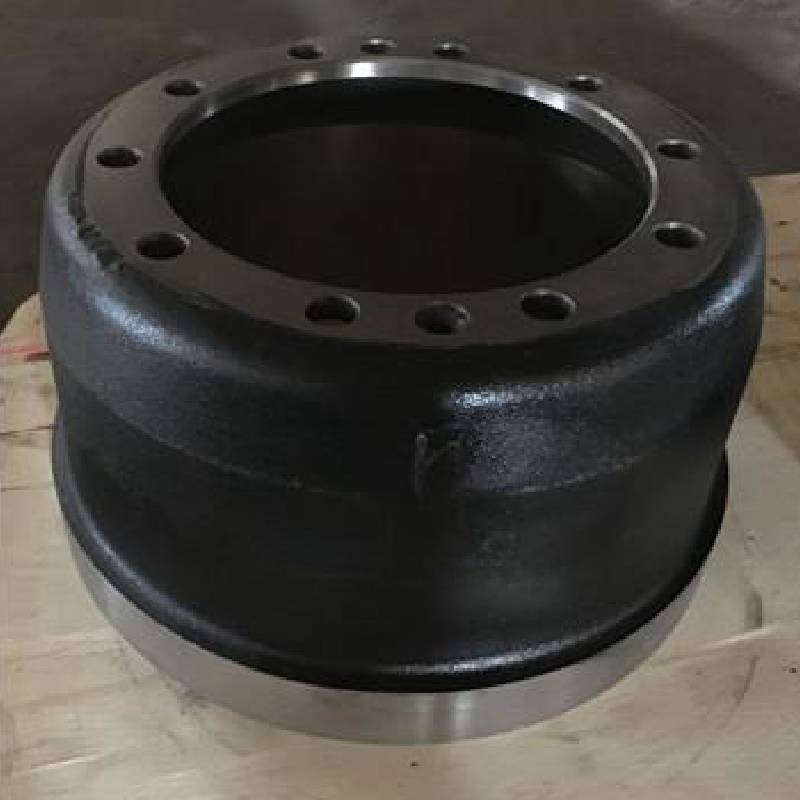
how to remove rusty brake drums

Before proceeding to remove the drum, inspect it for any visible damage or wear. Sometimes, it may seem rusty, but if there are deep grooves or cracks, it’s best to replace the drum instead of trying to salvage it.
Step 6 Apply Penetrating Oil
If the brake drum appears to be stuck due to rust, spray penetrating oil around the edges where the drum meets the wheel hub. Allow it to soak for at least 10-15 minutes. This will help to loosen any rust or debris that may be holding the drum in place.
Step 7 Remove the Brake Drum
Try to pull the drum off by hand. If it doesn’t budge, you might need a brake drum puller. Position the puller according to the manufacturer's instructions and slowly apply pressure until the drum releases. Be cautious during this step, as the drum may come off suddenly.
Step 8 Clean the Surface
Once you have removed the rusty brake drum, use a wire brush or rust remover to clean the surface of the wheel hub extensively. This will prevent future rust build-up and ensure a smooth surface for the new or repaired drum.
Step 9 Install the New or Repaired Drum
If you are replacing the drum, align the new drum with the wheel hub and slide it into place. Ensure it seats properly. If you are reusing the old drum, make sure it is sufficiently cleaned and free of rust before reinstalling it.
Step 10 Reassemble the Wheel
Replace the wheel and hand-tighten the lug nuts. Lower the vehicle and then use a torque wrench to tighten the lug nuts to the manufacturer’s specifications.
Conclusion
Removing rusty brake drums may seem daunting, but with the right tools and careful attention to detail, you can do it safely and effectively. Always prioritize safety by using appropriate equipment and protective gear. If you encounter any significant issues or feel unsure about the process, consulting a professional mechanic is always a wise choice.
-
Iveco Brake Drum | Premium OE Quality for Daily & Eurocargo
NewsAug.22,2025
-
Your Brake Drum Man: Quality & Performance Parts
NewsAug.21,2025
-
Explore Japan: Ultimate Travel Guide & Authentic Experiences
NewsAug.19,2025
-
Your Brake Drum Man: Premium & Reliable Brake Drums for Sale
NewsAug.18,2025
-
ROR Web Development: Build Fast, Scalable, Secure Apps
NewsAug.17,2025
-
Scania Brake Drums: OEM Quality for Optimal Safety & Durability
NewsAug.16,2025
