Th10 . 04, 2024 22:43 Back to list
Step-by-Step Guide to Installing Brake Drums Effectively and Safely
Brake Drum Installation A Step-by-Step Guide
Brake drums are essential components of a vehicle's braking system, providing the necessary surface for the brake shoes to create friction and slow down or stop the vehicle. Installing brake drums may seem daunting, but with the right tools and a little patience, it can be accomplished successfully. Here’s a step-by-step guide to help you through the installation process.
Tools and Materials Needed
Before you begin, gather the following tools and materials
- Jack and jack stands - Lug wrench - Screwdriver set - Brake cleaner - New brake drums - New brake shoes (if necessary) - Torque wrench - Safety goggles and gloves
Step 1 Prepare the Vehicle
Start by parking your vehicle on a flat surface and engaging the parking brake. Loosen the lug nuts on the wheel where the brake drum is located, but do not remove them completely. Next, use the jack to lift the vehicle and secure it with jack stands. Ensure it is stable before proceeding.
Step 2 Remove the Wheel
Once the vehicle is properly secured, remove the lug nuts completely and take off the wheel. This exposes the brake drum and its components.
Step 3 Inspect the Brakes
Before removing the brake drum, take the time to inspect the brake shoes, springs, and any other related components. If the shoes are worn down or damaged, it’s best to replace them while you’re at it. Remove the old brake shoes carefully, noting the orientation of the springs and hardware for reinstallation.
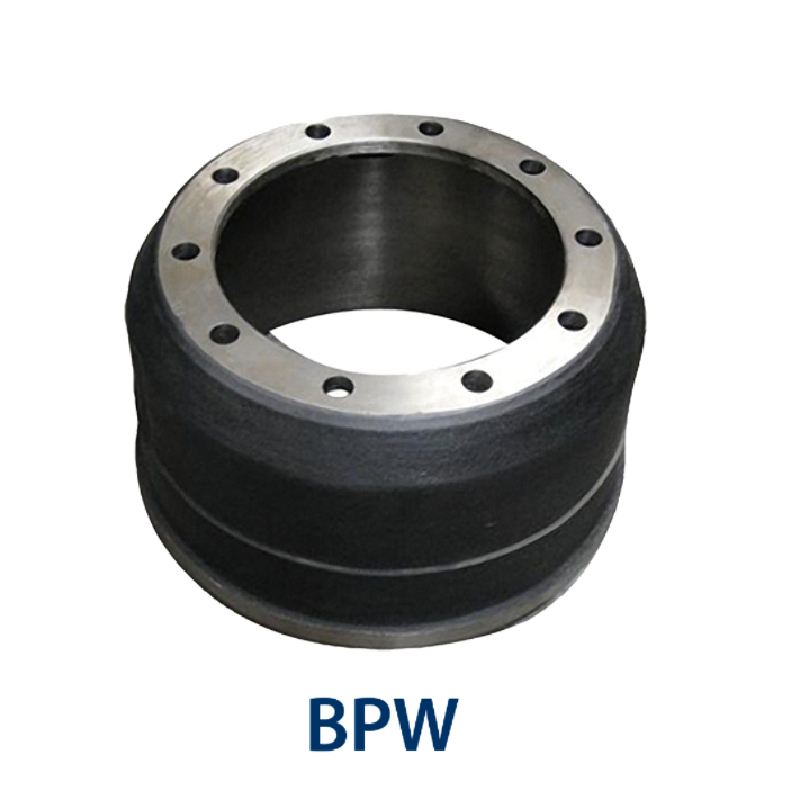
brake drum installation

Step 4 Remove the Brake Drum
The brake drum may be held in place by retaining screws or corrosion. If present, remove the screws and gently tap the drum with a hammer to loosen it. If it doesn’t budge, use a brake drum puller to avoid damaging the drum or axle.
Step 5 Install the New Brake Drum
Once the old drum is removed, clean the surface of the axle and inspect it for grooves or damage. Place the new brake drum over the axle hub, ensuring it is aligned properly. If you have replaced the brake shoes, reassemble them along with the necessary springs and hardware.
Step 6 Reattach the Wheel
After the drum is securely in place, mount the wheel back onto the hub. Hand-tighten the lug nuts before lowering the vehicle back to the ground.
Step 7 Final Tightening
Once the vehicle is back on the ground, use a torque wrench to tighten the lug nuts to the manufacturer’s specifications. This ensures proper fit and safety.
Conclusion
Brake drum installation, while straightforward, requires careful attention to detail and safety precautions. By following these steps and using the right tools, you can successfully replace your brake drums and maintain your vehicle’s braking system in top condition. Always remember to consult your vehicle’s manual for specific guidelines and torque specifications. Safe driving!
-
High-Quality Brake Drum MAZ – Durable Drum Brake Drum & Brake Drum and Brake Shoe Solutions
NewsJul.04,2025
-
Brake Drum Man - High-Quality Drum Brake Drums & Brake Shoes for Reliable Performance
NewsJun.24,2025
-
High-Quality Brake Drum Kamaz – Durable Drum Brake Drum & Brake Shoe Replacement
NewsJun.10,2025
-
High-Quality Brake Drum Liza for Drum Brake Systems - Superior Durability and Performance
NewsJun.10,2025
-
High-Quality Brake Drum Kamaz – Durable Drum Brake Drum & Brake Shoe Solutions
NewsJun.10,2025
-
Durable Kamaz Brake Drums High-Performance Truck Parts
NewsJun.09,2025
