Th11 . 20, 2024 13:41 Back to list
how to remove brake drum from trailer
How to Remove Brake Drum from a Trailer A Step-By-Step Guide
Removing the brake drum from a trailer is a task that many trailer owners may encounter, whether for routine maintenance, inspection, or replacement. This process is crucial to ensure your trailer’s braking system is operating efficiently and safely. While it may seem daunting at first, following the right steps can make it manageable. Here’s a comprehensive guide on how to remove the brake drum from a trailer.
Tools and Materials Needed
Before you begin, it’s essential to gather all the necessary tools and materials. Here’s what you will typically need
- Jack (suitable for the weight of your trailer) - Jack stands - Lug wrench - Brake drum puller (if necessary) - Screwdriver (flathead and Phillips) - Hammer - Clean rags - Brake cleaner (optional) - Replacement parts (if necessary)
Step 1 Safety First
Always prioritize safety when working on trailers. Start by ensuring that the trailer is parked on a level surface and securely chocked to prevent any movement. Additionally, wear safety goggles and gloves to protect yourself from debris and sharp components.
Step 2 Lift the Trailer
Using the jack, lift the trailer from the axle where the brake drum is located. Once it is lifted to a comfortable working height, place jack stands underneath the trailer to secure it. Never work under a trailer that is only supported by a jack.
Step 3 Remove the Wheel
Using a lug wrench, loosen the lug nuts on the wheel that you intend to work on. If you have a wheel cover, you may need to remove it first. After loosening the nuts, remove them entirely and take off the wheel. This will expose the brake drum.
Step 4 Inspect the Brake Drum
Before proceeding, take a moment to inspect the brake drum for any visible damage or wear. Look for cracks or grooves, which may indicate that it needs to be replaced. Additionally, check the brake shoes for wear and the condition of the backing plate.
Step 5 Remove the Brake Drum
how to remove brake drum from trailer

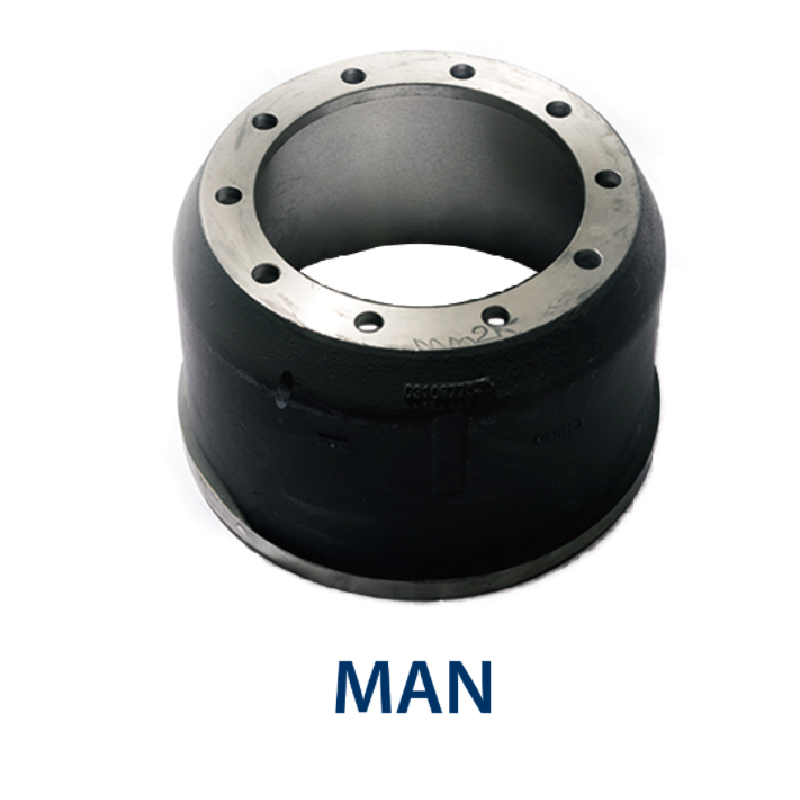
In many cases, removing the brake drum is straightforward. It should slide off the hub after you pull it. However, if the drum is stuck due to rust or wear, follow these steps
1. Check for retaining screws Some drums are held in place with retaining screws. If you see them, using a screwdriver, remove these screws.
2. Use a brake drum puller If the drum does not come off easily, consider using a brake drum puller. This tool is designed to apply even pressure and help pull the drum off without damaging surrounding components.
3. Light taps If you don’t have a puller, you can use a hammer to gently tap around the drum near the hub (not too hard to avoid damage) to help loosen it.
4. Twist and pull method In some cases, twisting while pulling can help free a stuck drum.
Step 6 Clean and Inspect
Once the drum is removed, take the opportunity to clean the area around the brake assembly. Use brake cleaner and clean rags to remove any dust or debris. Inspect the brake shoes, springs, and other components for wear or damage.
Step 7 Replacement and Reassembly
If you notice any issues with the drum or associated components, this is the ideal time to replace them. Install new brake shoes if needed, and follow the manufacturer’s guidelines for installing the new or cleaned drum. Place the drum onto the hub, ensuring it fits snugly without obstruction.
Reattach the wheel, tightening the lug nuts in a crisscross pattern to ensure even pressure. Once the wheel is back on, lower the trailer down from the jack stands.
Step 8 Final Checks
Before hitting the road, perform a final check. Ensure everything is securely fastened and that the wheel spins freely. Test the brakes to ensure they engage properly.
Conclusion
Removing a brake drum from a trailer may require patience and some mechanical knowledge, but with the right tools and steps, it can be accomplished effectively. Regular maintenance of your trailer’s braking system is vital for safety on the road, so ensure that you inspect and replace parts as necessary. If you ever feel unsure about performing this task, don’t hesitate to seek help from a professional mechanic. Safe travels!
-
Premium Iveco Brake Drum - Durable & Reliable Performance
NewsAug.05,2025
-
High-Performance Nissan Brake Drum | Durable Braking
NewsAug.03,2025
-
2014 Mitsubishi Mirage Rear Brake Drums | Durable & Precise
NewsJul.31,2025
-
High-Quality Trailers for Towing Needs | Shop Now
NewsJul.25,2025
-
Premium MAN Shaving Kit for Effortless Comfort
NewsJul.25,2025
-
HINO Advanced Machinery Solutions - LONGYAO COUNTY YIHANG MACHINERY | Industrial Efficiency&Customization
NewsJul.21,2025
