Oct . 05, 2024 01:37 Back to list
Steps to Accurately Measure the Diameter of a Brake Drum
How to Measure Brake Drum Diameter
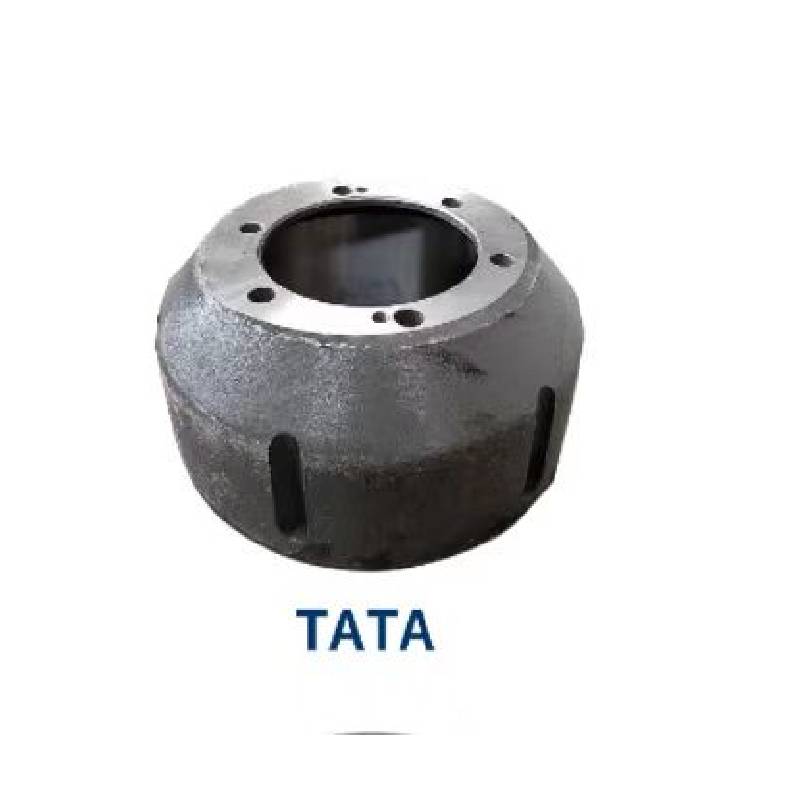
Measuring the brake drum diameter is an essential task for anyone involved in automotive maintenance and repairs. Knowing the correct diameter is crucial for ensuring proper fit when replacing brake components and maintaining optimal braking performance. In this guide, we’ll walk you through the steps to accurately measure the brake drum diameter.
Tools Required
Before you begin measuring, you will need some essential tools - Caliper or a brake drum micrometer - Ruler or measuring tape (for less accurate or rough measurements) - A notebook and pen (to jot down measurements)
Step-by-Step Guide
1. Preparation Begin by ensuring that the vehicle is parked on a flat surface and the parking brake is engaged. To avoid injuries, wear safety gloves and goggles while working on the brake components.
2. Remove the Brake Drum If you’re measuring the brake drum diameter accurately, it’s recommended to remove the brake drum from the vehicle. To do this, loosen the lug nuts and lift the vehicle using a jack. After securing it with jack stands, fully remove the lug nuts and take off the wheel. You should now have easy access to the brake drum.
3. Clean the Surface Before measuring, ensure that the surface of the brake drum is clean. Dust, debris, or rust can affect your measurements. Use a clean cloth to wipe down the exterior and inner surfaces.
how to measure brake drum diameter

4. Using a Caliper - Take your caliper and expand it to just fit inside the diameter of the brake drum. Make sure it touches the inner wall of the drum, but do not force it. - Close the caliper until it snugly fits, and then read the measurement from the scale or digital display. This gives you the most accurate measurement of the drum diameter.
5. Using a Ruler If you don’t have a caliper, you can use a ruler for a rough measurement. Place the ruler across the widest section of the inner edge of the drum and read the measurement. Note that this method may be less precise.
6. Checking for Wear While measuring, it’s a good opportunity to check for signs of wear or damage on the brake drum. Look for grooves, scoring, or uneven wear, which could indicate that the drum needs to be resurfaced or replaced.
7. Documentation Write down the measurements you’ve taken to keep track of the brake drum sizes. This is especially important if you’re planning to order new parts.
8. Reinstalling the Brake Drum After measuring and inspecting, reinstall the brake drum, ensuring it is fitted correctly. Reattach the wheel, lower the vehicle, and tighten the lug nuts securely.
Conclusion
Measuring the brake drum diameter is a straightforward but crucial task in maintaining your vehicle’s braking system. By following these steps, you can ensure that you have the right measurements for replacement parts, which will help maintain safety and performance on the road. Regular inspection and measurement can save you time and expense in the long run, keeping your vehicle running smoothly and safely.
-
High-Quality Brake Drum Liza for Reliable Performance Drum Brake Drum & Brake Shoe Solutions
NewsJul.06,2025
-
High-Quality Brake Drum MAZ – Durable Drum Brake Drum & Brake Drum and Brake Shoe Solutions
NewsJul.05,2025
-
High-Quality Brake Drum Iveco - Durable Drum Brake Drum & Brake Shoe Solutions
NewsJul.05,2025
-
High-Quality Brake Drum MAZ – Durable Drum Brake Drum & Brake Drum and Brake Shoe Solutions
NewsJul.04,2025
-
Brake Drum Man - High-Quality Drum Brake Drums & Brake Shoes for Reliable Performance
NewsJun.24,2025
-
High-Quality Brake Drum Kamaz – Durable Drum Brake Drum & Brake Shoe Replacement
NewsJun.10,2025
