Aug . 27, 2024 18:36 Back to list
How to Remove Rear Brake Drum
Removing Rear Brake Drum A Step-by-Step Guide
Removing the rear brake drum can be an essential maintenance task for vehicle owners who are looking to inspect, clean, or replace the brake shoes and other components. Whether you’re experiencing unusual noises, reduced braking performance, or simply conducting a routine check, this guide will walk you through the process of safely and effectively removing the rear brake drum.
Tools and Materials Required
Before you begin, gather the necessary tools and materials
- Jack and jack stands - Lug wrench - Brake drum puller (if needed) - Screwdriver (flathead) - Clean rags - Brake cleaner - Safety goggles and gloves
Step 1 Prepare the Vehicle
Start by parking your vehicle on a level surface and engaging the parking brake. To ensure safety, wear gloves and safety goggles to protect yourself from dust and debris. Use a lug wrench to loosen the lug nuts on the rear wheel of the side you’ll be working on, but do not fully remove them yet.
Step 2 Raise the Vehicle
Using a jack, lift the rear of the vehicle and secure it with jack stands. This not only provides access to the rear wheel but ensures your safety while working underneath the car. Once the vehicle is secure, remove the lug nuts completely and take off the wheel.
Step 3 Inspect the Brake Drum
removing rear brake drum

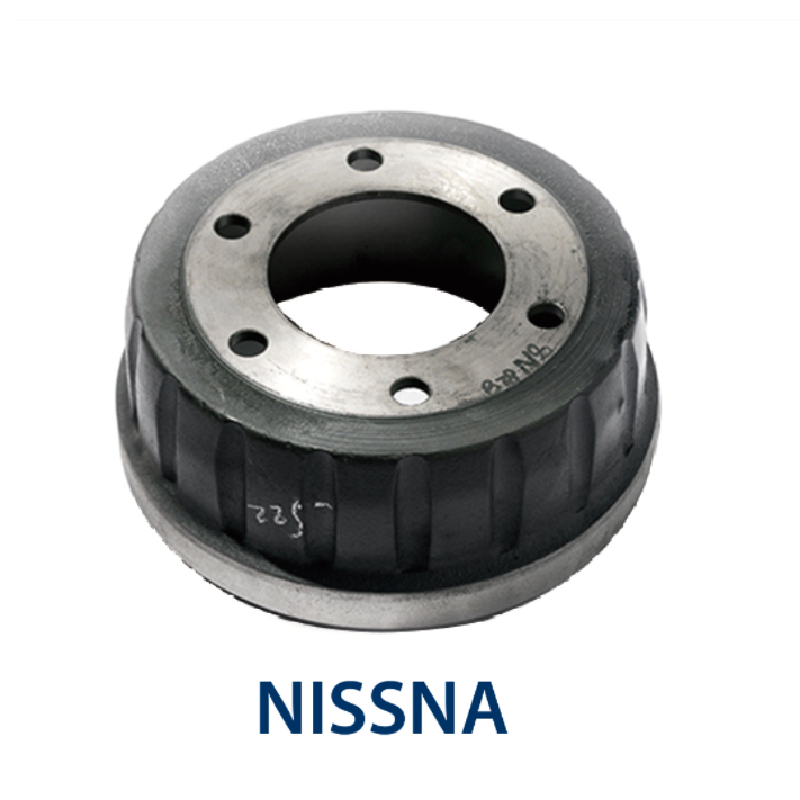
Once you've removed the wheel, you'll see the brake drum at the back. Before attempting to take the drum off, visually inspect it for any cracks or abnormalities. If the drum appears damaged, you might consider replacing it rather than simply removing it for maintenance.
Step 4 Remove the Brake Drum
In most cases, the brake drum should slide off easily. However, if it's stuck due to rust or debris, you can use a brake drum puller to apply even pressure and help it come loose. Alternatively, gently tap around the drum with a rubber mallet to loosen it.
If there are retaining screws, use a flathead screwdriver to unscrew them before attempting to pull the drum off. Be cautious not to damage any components.
Step 5 Clean and Inspect
With the drum removed, take the opportunity to inspect the brake shoes, springs, and other internal components for wear and tear. Use brake cleaner and rags to clean any dust or debris from inside the drum and on the brake components.
Step 6 Reassemble the Brake System
After your inspection and cleaning, you can reinstall the brake drum. Make sure it fits snugly over the brake shoes. Replace any retaining screws as necessary. Once the drum is in place, mount the wheel back on, tighten the lug nuts slightly, and lower the vehicle back to the ground.
Conclusion
Removing the rear brake drum might seem daunting at first, but with the right tools and careful attention, it can be a straightforward process. Regular maintenance of your vehicle’s brakes is crucial for safe driving. If you encounter any issues during this process or are unsure about any step, it’s always best to consult with a professional mechanic. Remember, safety first!
-
High-Quality Brake Drum MAZ – Durable Drum Brake Drum & Brake Drum and Brake Shoe Solutions
NewsJul.05,2025
-
High-Quality Brake Drum Iveco - Durable Drum Brake Drum & Brake Shoe Solutions
NewsJul.05,2025
-
High-Quality Brake Drum MAZ – Durable Drum Brake Drum & Brake Drum and Brake Shoe Solutions
NewsJul.04,2025
-
Brake Drum Man - High-Quality Drum Brake Drums & Brake Shoes for Reliable Performance
NewsJun.24,2025
-
High-Quality Brake Drum Kamaz – Durable Drum Brake Drum & Brake Shoe Replacement
NewsJun.10,2025
-
High-Quality Brake Drum Liza for Drum Brake Systems - Superior Durability and Performance
NewsJun.10,2025
