Nov . 07, 2024 06:11 Back to list
Guidelines for Effectively Measuring Brake Drums for Automotive Maintenance
How to Measure Brake Drums
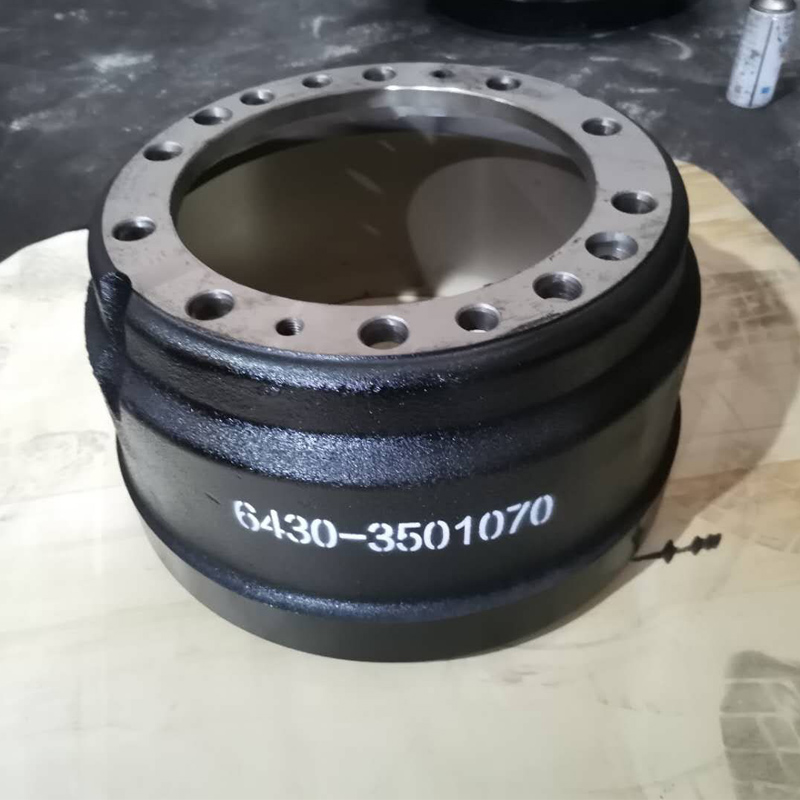
Brake drums are a crucial component of a vehicle's braking system, playing a significant role in slowing down and stopping the vehicle safely. To ensure their effectiveness and longevity, proper measurement and maintenance are essential. This article will guide you through the steps to accurately measure brake drums, helping you to determine whether they need to be replaced or resurfaced.
Tools Needed
Before you begin measuring brake drums, gather the following tools
1. Vernier Caliper or Micrometer These tools provide precise measurements and are essential for measuring the inner diameter of the brake drum. 2. Brake Drum Gauge A specialized tool designed specifically for measuring brake drums. 3. Straightedge For measuring the drum's surface and checking for any warpage. 4. Feeler Gauge To check for any discrepancies in the drum's thickness.
Step-by-Step Measurement Process
Step 1 Safety First
Before working on any part of your vehicle, ensure that you follow safety protocols. Park the vehicle on a flat surface, engage the parking brake, and use wheel chocks to secure the vehicle. It’s also advisable to wear safety glasses and gloves to protect yourself from debris.
Step 2 Remove the Wheel
Using a lug wrench, remove the lug nuts and then take off the wheel to access the brake drum. Make sure to keep the lug nuts in a safe place so you can reuse them later.
Step 3 Clean the Brake Drum
how to measure brake drums

Before taking measurements, clean the brake drum’s surface to remove any dust and debris. This will ensure that you get accurate measurements. You can use brake cleaner and a clean cloth for this purpose.
Step 4 Measure the Inner Diameter
Using a vernier caliper or a brake drum gauge, measure the inner diameter of the brake drum at multiple points. It’s important to measure at least two or three locations around the drum to account for any wear or unevenness. Record these measurements, as they will help you determine if the drum is within the specified limits.
Step 5 Check Drum Thickness
Next, using the feeler gauge, check the thickness of the drum. The manufacturer’s specifications will provide a minimum allowable thickness; if your measurements are below this limit, it’s time to replace the brake drum.
Step 6 Inspect for Warpage
Using a straightedge, place it across the surface of the brake drum to check for warpage. Any gaps between the straightedge and the drum indicate unevenness, which can affect braking performance. If warpage exceeds manufacturer specifications, resurfacing or replacement is necessary.
Step 7 Record Your Findings
Document all your measurements and observations carefully. This record will be invaluable for future reference and will help you keep track of the brake drum's condition over time.
Conclusion
Measuring brake drums is a vital part of vehicle maintenance that can help ensure safety and performance. By following these steps, you can accurately assess the condition of your brake drums and determine whether they need to be serviced. Regular checks and measurements can save you from costly repairs and ensure that your braking system operates smoothly. If you’re ever in doubt about the measurements or the condition of your brake drums, it’s wise to consult a professional mechanic. Prioritizing the integrity of your brakes will go a long way in ensuring a safe driving experience.
-
Scania Brake Drums: OEM Quality for Optimal Safety & Durability
NewsAug.16,2025
-
R.V.I: Advanced Remote Visual Inspection for Precision
NewsAug.15,2025
-
Discover HYUNDA: Innovative Vehicles, Equipment & Solutions
NewsAug.14,2025
-
R.V.I: Unlock Advanced Insights & Real-time Performance
NewsAug.13,2025
-
Kamaz Brake Drum: Durable & Reliable for Heavy Duty Trucks
NewsAug.12,2025
-
Heavy Duty Iveco Brake Drum - Premium Quality & Safety
NewsAug.11,2025
