
Feb . 12, 2025 09:45 Back to list
2014 mitsubishi mirage rear brake drums
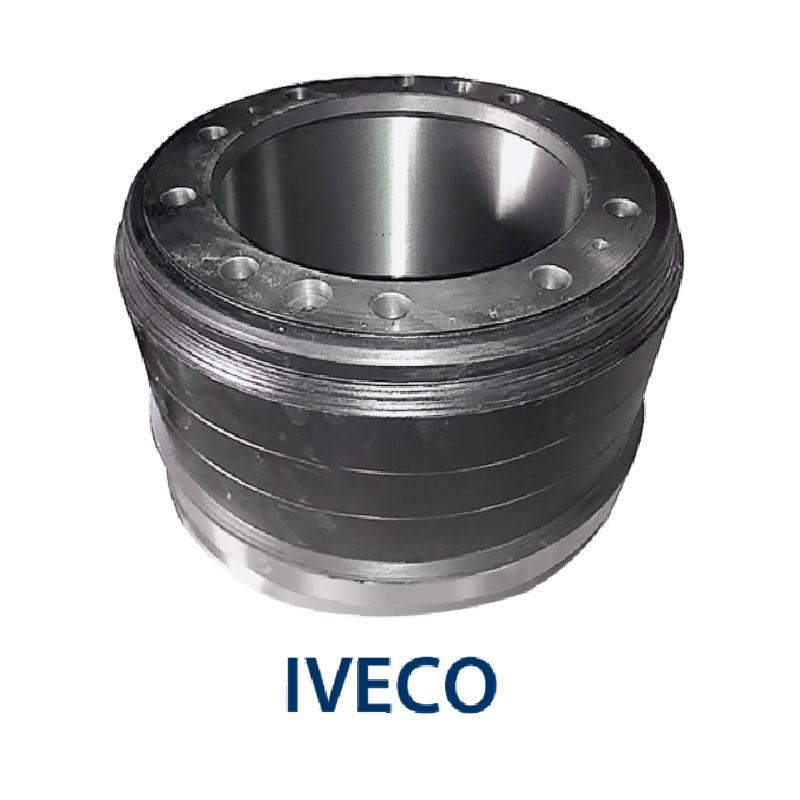
Removing brake drums can seem daunting, especially for beginners or those unfamiliar with car maintenance. However, with the right approach and knowledge, it's a task that can be accomplished successfully, ensuring your vehicle's braking system remains reliable and safe. Here's a comprehensive guide that combines expertise and trusted practices to help you remove brake drums effectively.
In instances where manual effort doesn't free the drum, a brake drum puller may be required. This tool applies even pressure across the drum, helping to avoid damage. If using a puller, attach it according to the manufacturer's instructions and tighten it slowly, checking constantly to see if the drum begins to move. Once the drum is removed, it's an opportunity to inspect the brake components for wear or damage. Check the brake shoes, adjusters, and springs, ensuring they're in good condition. Any components showing signs of excessive wear or damage should be replaced to maintain optimal brake performance. Remember to clean the hub before reinstalling the drum or a new one. A wire brush can remove rust and debris, ensuring a smooth surface for the drum reattachment. If you're replacing the drum with a new one, clean it with brake cleaner to remove any protective coating applied during manufacturing. Reassembling involves reversing the removal process. Position the drum over the brakes, ensuring it slides over the shoes without difficulty. If your model uses them, replace the screws and clips. Reattach the wheel, hand-tighten the lug nuts, lower the car to the ground, and then fully tighten the nuts by alternating in a star pattern to ensure even pressure. Engaging in this process not only broadens your automotive expertise but also fosters a sense of accomplishment and trust in your vehicle maintenance abilities. Ultimately, understanding and performing basic car maintenance enhances both vehicle safety and longevity.

In instances where manual effort doesn't free the drum, a brake drum puller may be required. This tool applies even pressure across the drum, helping to avoid damage. If using a puller, attach it according to the manufacturer's instructions and tighten it slowly, checking constantly to see if the drum begins to move. Once the drum is removed, it's an opportunity to inspect the brake components for wear or damage. Check the brake shoes, adjusters, and springs, ensuring they're in good condition. Any components showing signs of excessive wear or damage should be replaced to maintain optimal brake performance. Remember to clean the hub before reinstalling the drum or a new one. A wire brush can remove rust and debris, ensuring a smooth surface for the drum reattachment. If you're replacing the drum with a new one, clean it with brake cleaner to remove any protective coating applied during manufacturing. Reassembling involves reversing the removal process. Position the drum over the brakes, ensuring it slides over the shoes without difficulty. If your model uses them, replace the screws and clips. Reattach the wheel, hand-tighten the lug nuts, lower the car to the ground, and then fully tighten the nuts by alternating in a star pattern to ensure even pressure. Engaging in this process not only broadens your automotive expertise but also fosters a sense of accomplishment and trust in your vehicle maintenance abilities. Ultimately, understanding and performing basic car maintenance enhances both vehicle safety and longevity.
Latest news
-
ROR Web Development: Build Fast, Scalable, Secure Apps
NewsAug.17,2025
-
Scania Brake Drums: OEM Quality for Optimal Safety & Durability
NewsAug.16,2025
-
R.V.I: Advanced Remote Visual Inspection for Precision
NewsAug.15,2025
-
Discover HYUNDA: Innovative Vehicles, Equipment & Solutions
NewsAug.14,2025
-
R.V.I: Unlock Advanced Insights & Real-time Performance
NewsAug.13,2025
-
Kamaz Brake Drum: Durable & Reliable for Heavy Duty Trucks
NewsAug.12,2025