Nov . 09, 2024 01:55 Back to list
Tips for Unsticking a Jammed Trailer Brake Drum Effortlessly and Safely
How to Remove a Stuck Trailer Brake Drum
If you find yourself in a situation where you need to remove a stuck trailer brake drum, you’re not alone. Many trailer owners face this problem, often due to rust, corrosion, or improper maintenance. A stuck brake drum can make routine maintenance or tire changes a hassle, but with the right techniques, the task can be accomplished effectively. In this article, we will outline a step-by-step guide to help you safely and efficiently remove a stuck trailer brake drum.
Understanding the Brake Drum
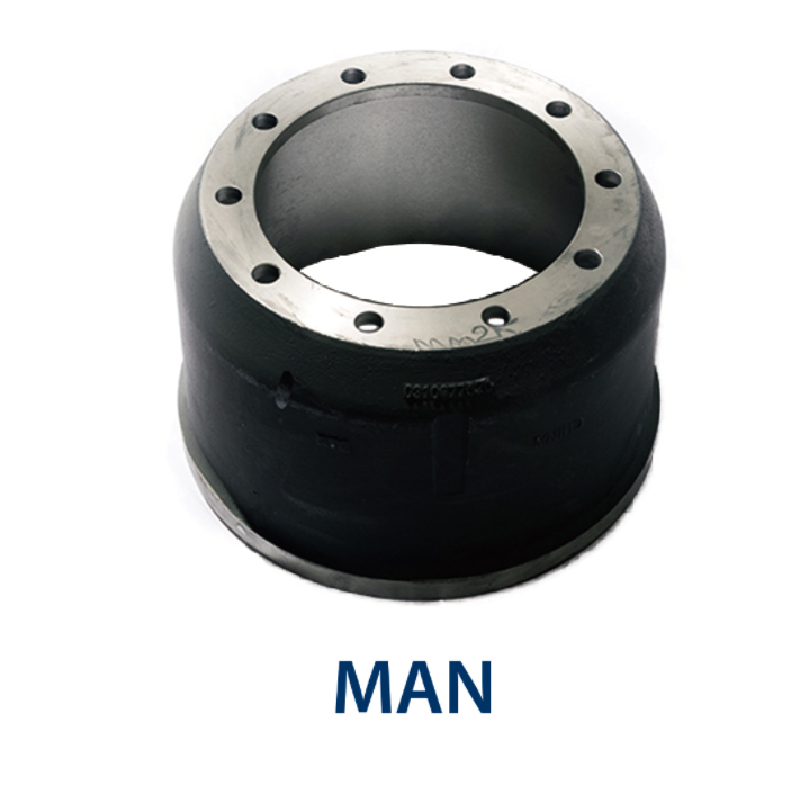
Before diving into the removal process, it’s essential to understand what a brake drum is and why it might get stuck. The brake drum serves as a critical component of the braking system in trailers, housing the brake shoes that press against it to slow or stop the vehicle. Over time, moisture, dirt, and road grime can cause the brake drum to corrode and adhere tightly to the axle, leading to a stuck situation.
Tools and Materials Needed
To successfully remove a stuck brake drum, you will need the following tools and materials
- Hydraulic jack - Jack stands - Lug wrench - Brake drum puller or slide hammer - Hammer or mallet - Penetrating oil (WD-40 or similar) - Safety goggles and gloves
Step-by-Step Guide
1. Safety First
Start by ensuring your safety. Park the trailer on a flat surface, engage the parking brake, and put on safety goggles and gloves to protect yourself during the removal process.
2. Loosen the Lug Nuts
Before lifting the trailer, use a lug wrench to slightly loosen the lug nuts on the wheel attached to the stuck brake drum. Do not remove them entirely at this point.
Using a hydraulic jack, raise the trailer until the wheel is off the ground. Once elevated, secure the trailer with jack stands to prevent any accidents while you work.
how to remove stuck trailer brake drum

4. Remove the Wheel
Now it’s time to completely remove the lug nuts and take off the wheel. This will expose the brake drum, giving you full access to the component you need to work on.
5. Apply Penetrating Oil
To help loosen the stuck drum, spray a generous amount of penetrating oil around the edges where the drum meets the hub. Allow the oil to soak for at least 15-20 minutes to break down any rust or corrosion.
6. Attempt to Remove the Drum
Once the oil has had time to work, try to pull the drum off. If it doesn’t budge, you may need to use a hammer or mallet to gently tap around the drum’s outer edge. Be careful not to hit too hard, as you don’t want to damage any components.
7. Use a Brake Drum Puller
If the drum still won’t come off, it may be time to utilize a brake drum puller or slide hammer. These tools apply even pressure to help pull the drum free without causing damage. Follow the instructions provided with the tool to ensure proper use.
8. Inspect and Clean
Once the drum is finally removed, inspect it for any signs of wear or damage. If it shows excessive wear, consider replacing it. Clean the brake components and the hub area thoroughly before reassembling.
9. Reassemble the Brake System
Reattach the brake drum, ensuring everything is properly secured. Replace the wheel, tighten the lug nuts, and lower the trailer back to the ground.
Conclusion
Removing a stuck trailer brake drum can be a challenging task, but with patience and the right tools, it can be done safely and effectively. Regular maintenance and inspections can help prevent this issue from recurring in the future. Always prioritize safety and don’t hesitate to seek professional assistance if you feel uncertain about any steps in the process. Happy towing!
-
Scania Brake Drums: OEM Quality for Optimal Safety & Durability
NewsAug.16,2025
-
R.V.I: Advanced Remote Visual Inspection for Precision
NewsAug.15,2025
-
Discover HYUNDA: Innovative Vehicles, Equipment & Solutions
NewsAug.14,2025
-
R.V.I: Unlock Advanced Insights & Real-time Performance
NewsAug.13,2025
-
Kamaz Brake Drum: Durable & Reliable for Heavy Duty Trucks
NewsAug.12,2025
-
Heavy Duty Iveco Brake Drum - Premium Quality & Safety
NewsAug.11,2025
